Repairing an LCD TV
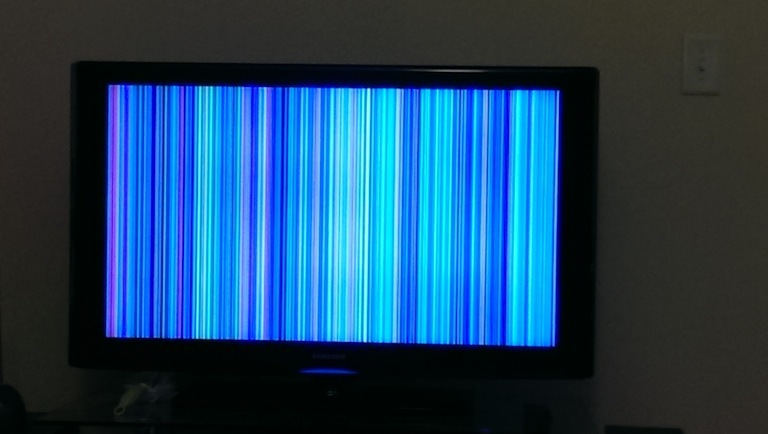
After almost 6 years of service, my TV (a Samsung LNT4065F in case you are googling this problem) stopped working. It died slowly. Over the course of many months, it would take longer to come on each time. Eventually, I could expect to wait five minutes from pressing the power button to being able to use the TV. Then it started to not come on at all. Sometimes, instead of the image, I would just get vertical bands of color:
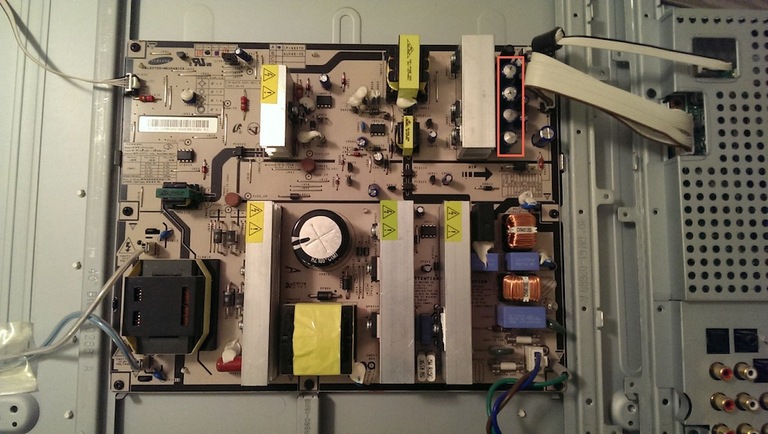
As a rule of thumb, when I see electronics behaving like this, I suspect bad capacitors. I opened up the back and sure enough, there were 4 capacitors that had failed:
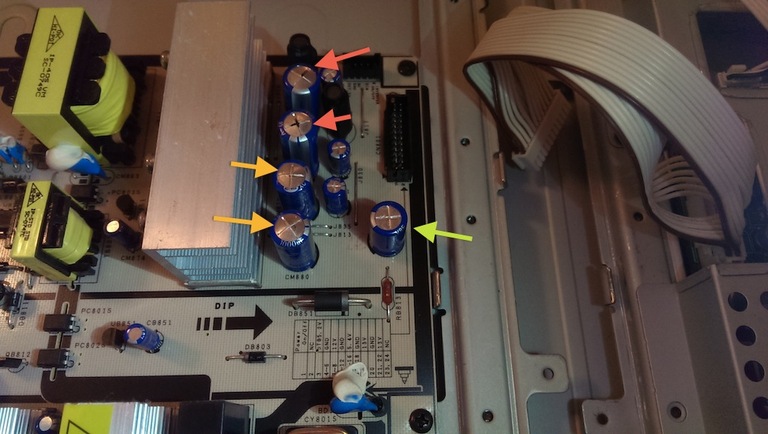
Notice the leaking electrolyte (red arrows) and bulging vents (orange arrows) compared to a good capacitor (green arrow):
Fixing the glitch
Fortunately, capacitors are cheap and readily available. I ordered my replacements from Mouser Electronics but you can also get them from Amazon or sometimes even your local RadioShack (sadly, less often than you could in the past).
My TV required the following components:
- Two 10V, 2200µF Capacitors
- Two 25V, 1000µF Capacitors
Make sure you use the correct capacitors for your TV. It will probably not be exactly the same as mine. The voltage (V) and capacitance (µF) should be printed on the side of each capacitor.
Replacing the components is a fairly simple process but does require soldering. Start by removing the board from your TV (take lots of pictures so you remember how it all goes together). At this point, I suggest taking a screw driver and shorting the leads of any large capacitors you see. Odds are, nothing will happen, but you'd rather arc to the screwdriver than get a nasty shock later.
Now desolder the old capacitors and put in the new ones. Keep in mind that these capacitors are polarized so you have to put them in the right way. They will have a stripe with '-' in it on the negative side.
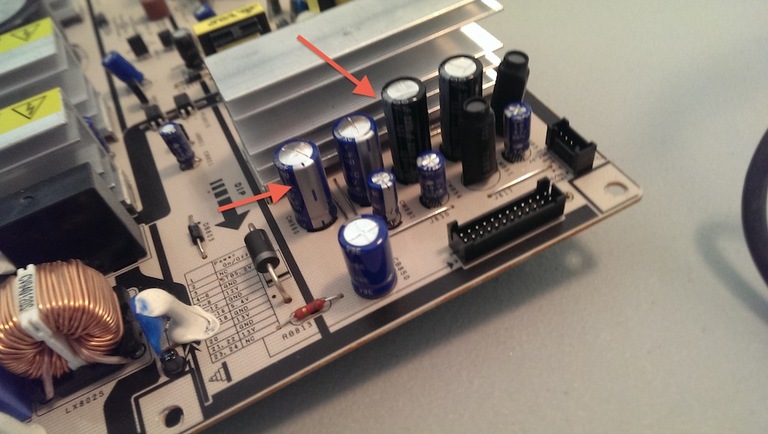
There should be indications on the board to help you determine which side it lines up with (or you could refer to the pictures you took, right?). Notice the tiny '+' signs on my board that correspond to the positive (opposite of the stripe) lead on my capacitors:
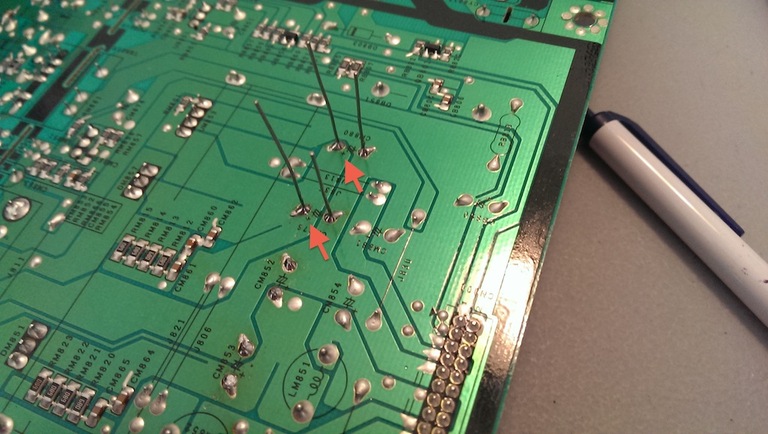
It's back baby
After putting it all back together, it's time for the moment of truth. I plugged it in, turned it on, and...
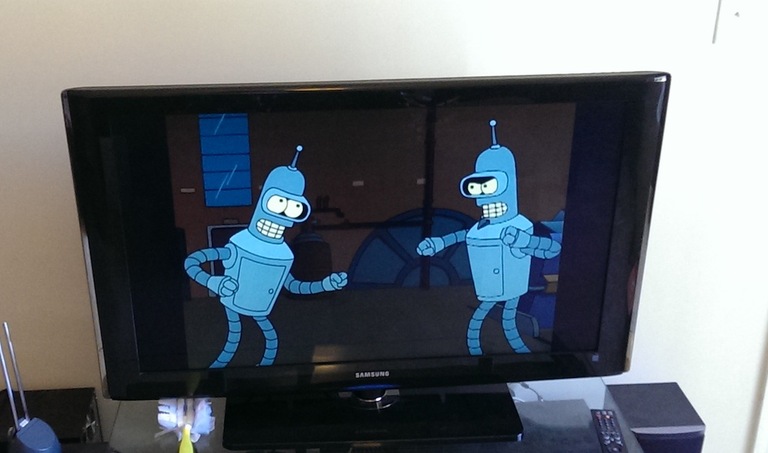
Good as new!